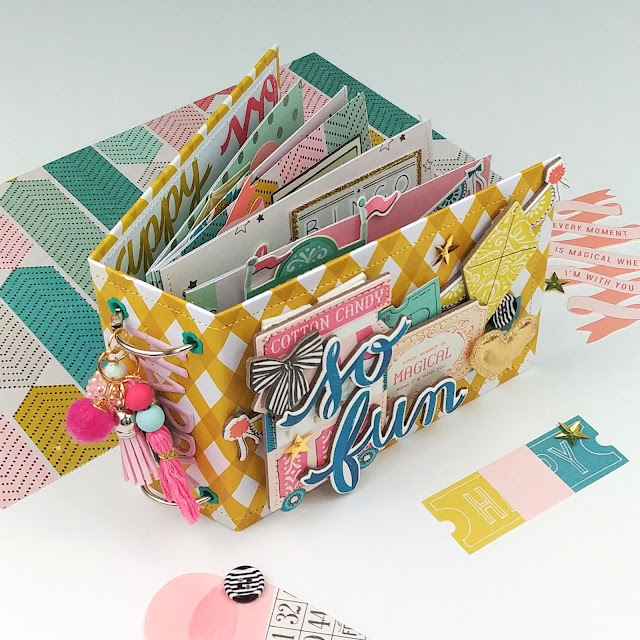
Mini Album Set with Basket Storage Tutorial

Hello crafty friends! Mini albums, mini albums, mini albums...will I ever tire of making them? Probably not! They're such cute, fun projects to make and the possibilities and ways to make them are never ending! So I wanted to take some time to share with you how to put together one of my mini album sets! I can't officially say it's my favorite mini album set design to date (I couldn't possibly choose a favorite), but I love it to pieces and I hope you all do as well!

You can find a process video and tutorial for this project HERE.

I love creating paper baskets and carriers, so we will start there first. To create the storage basket for this trio of albums you will need two pieces of paper:
Box - 5.5 inch by 7 inch | Score at 1.25 inch on all four sides
Handle - 1 inch by 12 inch
Cut the squares in each corner of your box template into tabs and use those to adhere your template into a box. Once your box is assembled, add the handle by using eyelets, brads, or just some good old hot glue. Then it's time to move on to the minis!
This set is a set of three, so keep in mind you will need triple of all the supplies listed:
Chipboard - Two pieces that measure 2.5 inch by 2.5 inch for the covers | One piece that measures 1.25 inch by 2.5 inch for the spine.
Wrapping - 3.5 inch by 7.5 inch
Lining - 2.25 inch by 6 1/8 inch
Pages - You will need four pages:
(1) 2.25 inch by 5.5 inch | Score on 5.5 inch side at 2.25 inch and 3.25 inch
(2) 2.25 inch by 5.25 inch | Score on 5.25 inch side at 2.25 inch and 3 inch
(3) 2.25 inch by 5 inch | Score on 5 inch side at 2.25 inch and 2.75 inch
(4) 2.25 inch by 4.75 inch | Score on 4.75 inch side at 2.25 inch and 2.5 inch
Start by wrapping your chipboard and adding the lining. Then work on your pages. Once they are all scored and folded, adhere them together from the largest gusset to smallest gusset. Then add them to the inside spine of your mini!
It should be noted that if you are opting to add charms or tassels to your albums, punch a hole and add a jump ring to the spine before adhering your pages into place.


Then all you need to do is embellish your basket and minis!
Hope you feel inspired! Be sure to check out the video tutorial for this project by clicking the link above! Take care and happy crafting! See you next time!

Comments
Post a Comment