Heart-Shaped Memory Dex Card with Hidden Box Tutorial

Hello crafty friends! I am still wading the waters when it comes to the whole memory dex card world, but I have to admit that every time I have made one, I've loved it! I love finding fun, cute ways of turning them into something more than a lay flat card, so I've come up with this design! All you need are a few heart shaped pieces of patterned paper, a memory dex card insert and a small, handmade box and you've got yourself a cute 3D memory dex card!
You can find a process video and tutorial for this project here.

To start, you will need four heart shaped pieces. These pieces need to measure 5 inches in width at the highest point of the heart and around 4.25 inch near the center of the heart:
- Two that are cut from heavy weight cardstock
- Two that are cut from patterned paper
You will also need four memory dex card inserts. My inserts measure about 1 inch in height and 3.5 inches in width:
- Two that are cut from heavy weight cardstock
- Two that are cut from patterned paper
The first step is to adhere the two cardstock memory dex card insert pieces together. These pieces will add structure and sturdiness to the card itself. Then, add one of the cardstock hearts to the insert by gluing the bottom tip of it to the top of the insert. Then glue the other cardstock heart onto the back of that one.
Next, use the patterned paper hearts and inserts to mat the front and back of your card.

Next we will work on the box:
- One piece of paper that measures 4 inch by 5 inch | Score on the 4 inch side at 1.5 and 2.5 inches | Score on the 5 inch side at 1 and 4 inches. Cut the squares on your template into tabs and use those to assemble the box.
Glue this box onto the center of the front heart of your card. Take your time to center it perfectly so that it will be hidden from a frontal view when the top layer is added.
For the top layer we will need two more pieces:
- Two patterned paper hearts that are identical in size to the one on the card.
Glue these back to back. Then, glue this heart onto the front of the box itself. Again, take your time to make sure that everything lines up nice and evenly. This will give the project a more seamless look.

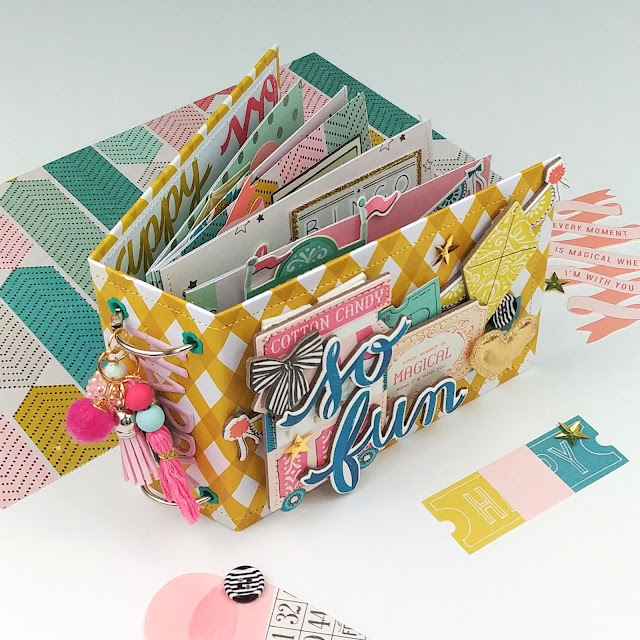
Then it's time to embellish!
Thank you so much for tuning into the blog today! I hope you feel inspired! Be sure to check out the process video for this project by clicking the link up above! Take care and happy crafting!

Comments
Post a Comment