Chipboard Box Book Tutorial

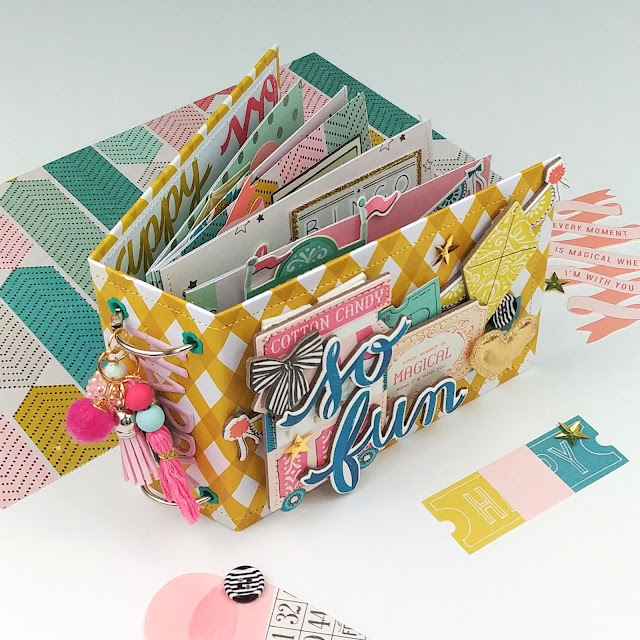
Hello crafty friends! I love a good, handmade chipboard book and I also love gift boxes! So, I thought, why not combine the two? And, why not do it three times over to create a cute stack of chipboard box books? Since I couldn't think of a good enough reason not to, I went ahead and did just that and have decided to share with you all how to make your own!
You can find a process video and tutorial for this project here.

The base of this book requires three pieces of chipboard and some cute patterned papers:
Chipboard - Two pieces that measure 4 inch by 4 inch | One piece that measures 1.5 inch by 4 inch
Wrapping - One piece of paper that measures 5 inch by 11 inch
Lining - One piece of paper that measures 3 7/8 inch by 9.5 inch
The box portion of this project is super quick and easy to make. All you need is one sheet of paper and some strong adhesive.
Paper - One piece that measures 6.25 inch by 6.25 inch | Score at 1.25 inch on all four sides.
Once your paper is scored, cut the squares in each corner into a tab. Use these four tabs to adhere your template into a box.
Then, just glue the bottom of your box to the right side of the inside of your chipboard book base and your ready to start decorating!
You can use any closure of your choice for this project. A ribbon tied around it would work great! I used a paper buckle and a paper strap to hold mine in place. These pieces are as follows:
Strap - 1/2 inch by 12 inches
Buckle - 1/2 inch by 1.5 inches | Score both ends of the 1.5 inch side at 3/8 of an inch
Fold up on the score lines of the buckle and fold them over to create a flat loop shape. Glue that to the front cover of your book, about a 0.25 inch away from the right edge. Then glue your strap around the length of the book, starting from the buckle. You'll have a good couple of inches left over. This is what will tuck into the buckle itself to keep the book closed!
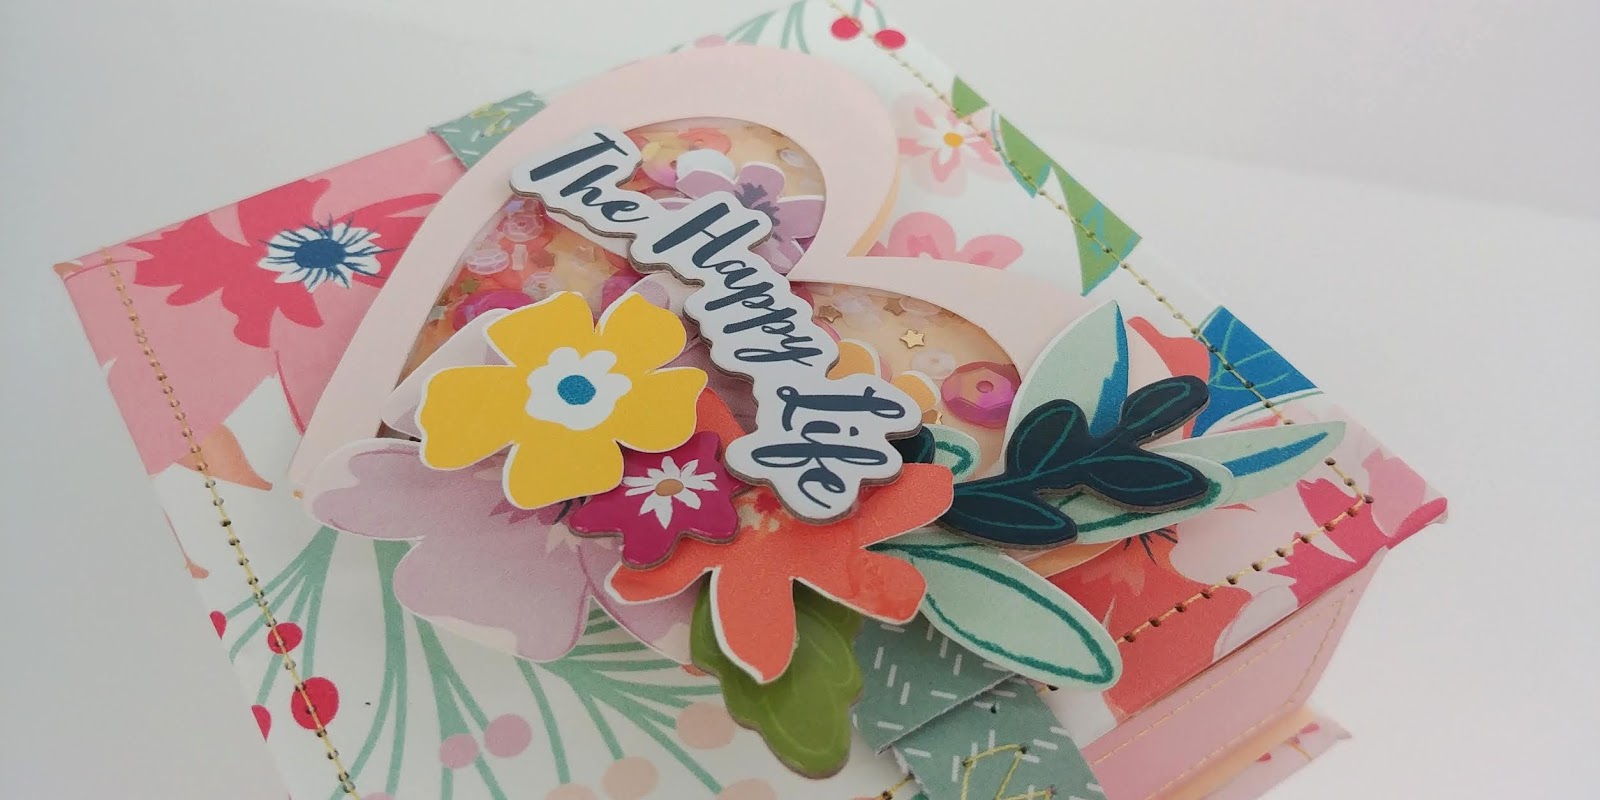
I made three of these books and stacked them on top of one another in a haphazard way to give them the look of real books just sitting on a desk. I used hot glue to adhere this stack together and now it will make a great little storage system for some of my smaller craft pieces or photos.

Thanks for stopping by the blog today! I hope you feel inspired! Be sure to check out the video for this project that is linked up above for even more details on this! Take care and happy crafting!

Comments
Post a Comment