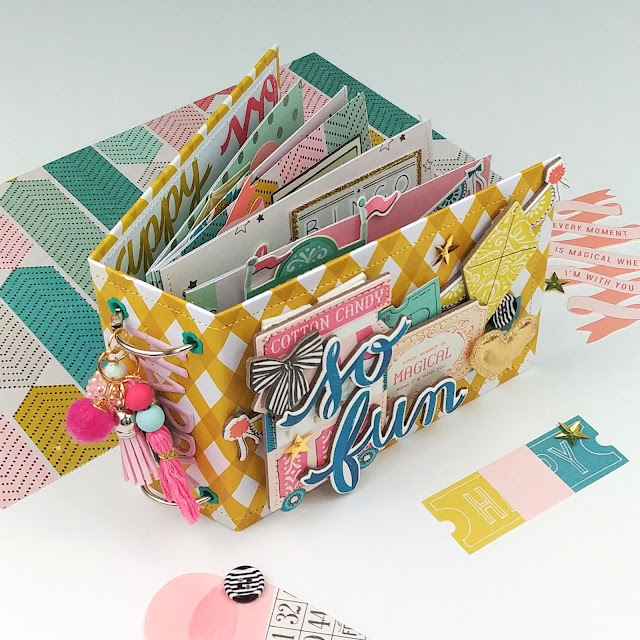
Chipboard Pocket Book Tutorial
Hello crafty friends! As might be expected, I have another fun chipboard book tutorial to share with you! And no, it's not a mini album this time around. It's actually a pocket book! This book has four 3 inch by 3 inch pockets in it that can be used for photo storage or gift giving! It's a super cute and super quick project, so let's dive into how to put this project together.
You can find a process video and tutorial for this project HERE.
For the chipboard book itself, you will need the following:
Chipboard - Two pieces that measure 3.25 inch by 6.25 inch | One piece that measures 2 inch by 6.25 inch
Wrapping - One piece of paper that measures 7.5 inch by 10 inch
Lining - One piece of paper that measures 6 1/8 inch by 8.5 inch
Once your chipboard is wrapped and your book base is ready to go, it's time to move on to the pockets. Keep in mind this book has four pockets so you'll repeat these steps four times over:
Pocket - One piece of paper that measures 5 inch by 9.5 inch | Score on the 5 inch side at 1 inch on both long sides | Score on the 9.5 inch side at 3, 4, 7, and 8 inches
Once you have scored and folded your template, cut off the small square and small rectangle from the 5 inch side that has them. Then, cut the two squares in the middle of the paper into tabs and use those to assemble your pocket together.
Then, simply adhere all four of your pockets evenly to the two inside sides of your chipboard book base and your ready to embellish!
Thank you so much for stopping by the blog today! I hope you feel inspired to try this project! Be sure to check out the video linked above for more details on creating this. Take care and happy crafting! See you next time!


Thank you for sharing this. I will try this, for a swap I am doing for a friend in Australia, and I want to add some goodies in these pocket books.Have a nice day😀
ReplyDeleteThis was so much fun to make! Can't wait to use it in my 25 Days of Christmas swap! :)
ReplyDelete