Disc Bound Banner Album

Hi friends! Thanks so much for stopping by my blog today. I have a super fun project to share with you; I created this Disc Bound Banner Album using two tools from We R Memory Keepers. It came together in just a few hours and I love the end result! You can find a process video here for this project, or read below for written instructions.

To start this project, I first took 6 sheets of paper and trimmed them down to the following sizes: 2.5 x 5, 2.5 x 4.5, 2.5 x 4, 2.5 x 3.5, 2.5 x 3, and 2.5 x 2.5 inches. I then used the We R Memory Keepers Banner Punch on all of my pages, giving them that signature "banner" look.

I used my sewing machine to stitch along the edges of all of my pages to give the album more character and texture.
Next, I stacked my pages from smallest to largest in length.
To bind the album together, I opted to use the We R Memory Keepers Disc Cinch. I used this tool to punch two disc holes at the top of all of my pages. I then used two discs to bind the album.

Before diving into the embellishment process for this album, I decided to add some photos. The collection I was working with ("Live & Let Grow") matched my brother's engagement photos perfectly. The colors complimented one another nicely and I loved the soft, happy elements throughout.
I used both tools to trim my photos to the size and shape they needed to be. I then added them throughout the album using double-sided tape.
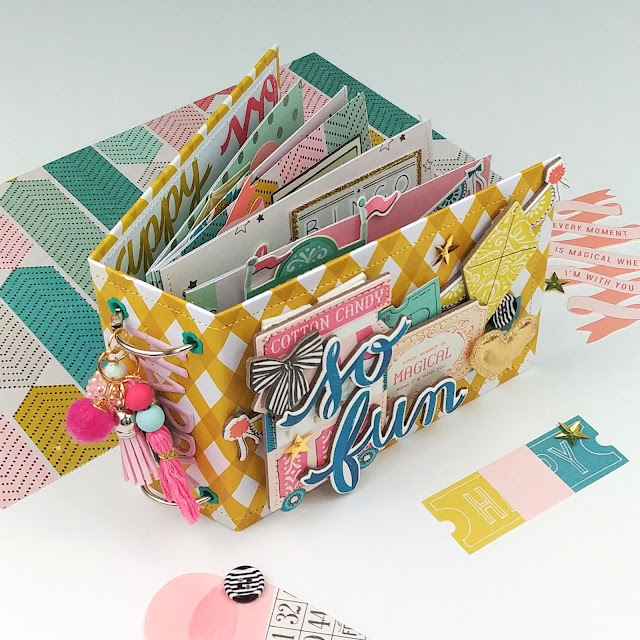
To embellish this mini, I used a mix of pieces from the "Live & Let Grow" collection. I loved using the florals and sentiment pieces.

This album was such a fun project to put together. It makes for the sweetest way to document any special memories!
Once again, thanks so much stopping by my blog today! I'll see you next time with another fun project!

Comments
Post a Comment