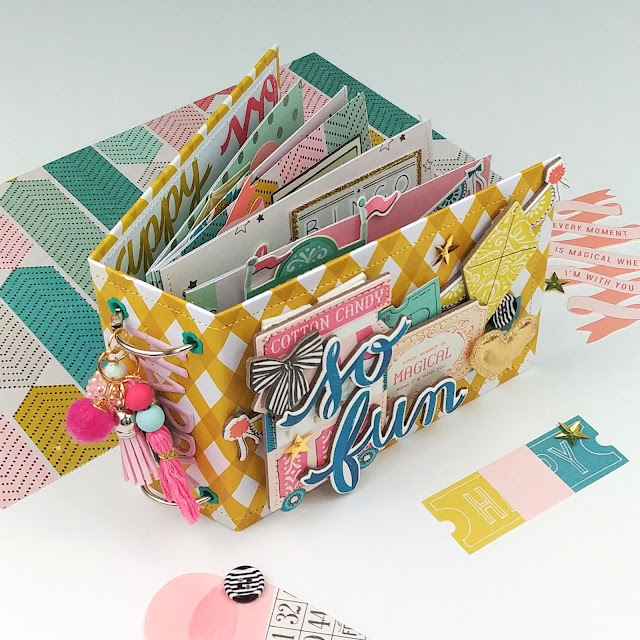
DIY Notebook/Planner
Whether you're going back to school or simply looking for a way to stay more organized, handmade notebooks are the way to go!
To create the layered covers of this notebook, I used two sheets of medium weight chipboard. The front cover measures 4.5 x 7.5 while the back cover measures 5.5 x 7.5 inches. I wrapped these using patterned papers from the 12 x 12 Paper Pad from the Live & Let Grow collection. I then added disc holes using the Disc Cinch and bound the covers together using 7 discs.
Finally, I embellished the project using all of the fun bits and pieces from the Live & Let Grow collection. On the cover I added some paper rosettes for dimension, along with the dates for the coordinating school year.


.jpg)


How many folders did you use and how many grid sheets did you add in between? I want to make one of these for myself and for a friend for a birthday/Christmas gift.
ReplyDelete